Hengshui Aiye Machinery Equipment Co., Ltd.
 Business License
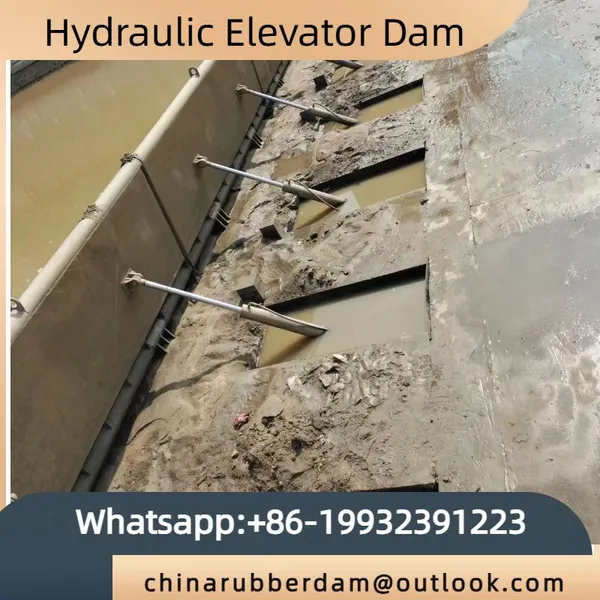
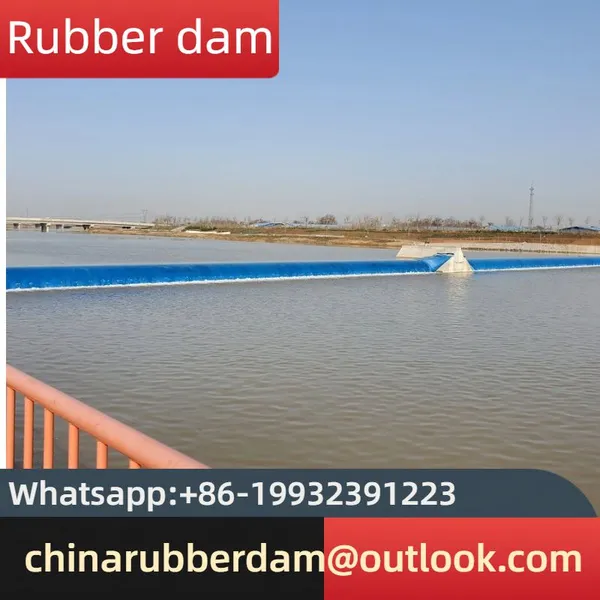
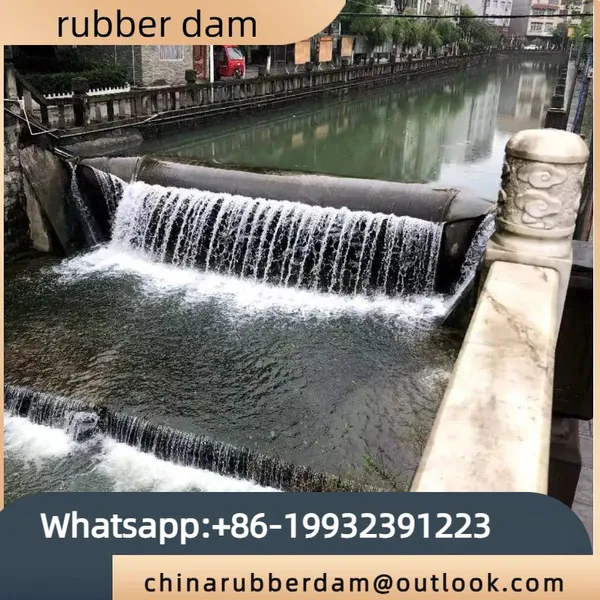
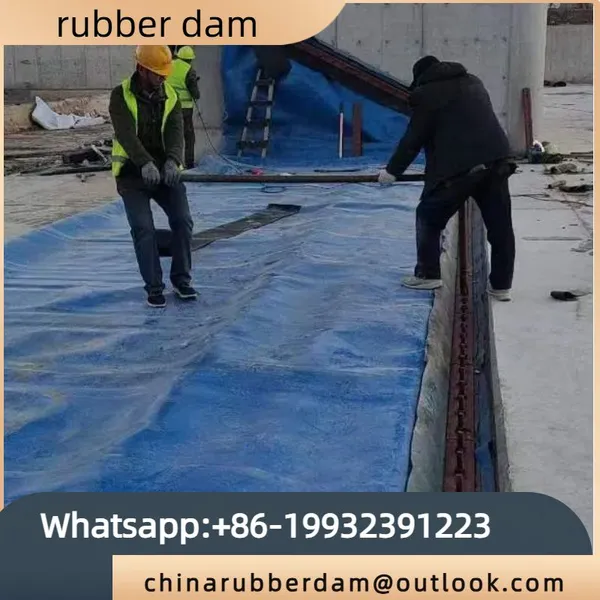
Main Products: rubber dam, Inflatable rubber dams, Hydraulic elevator dam, Cast iron gates

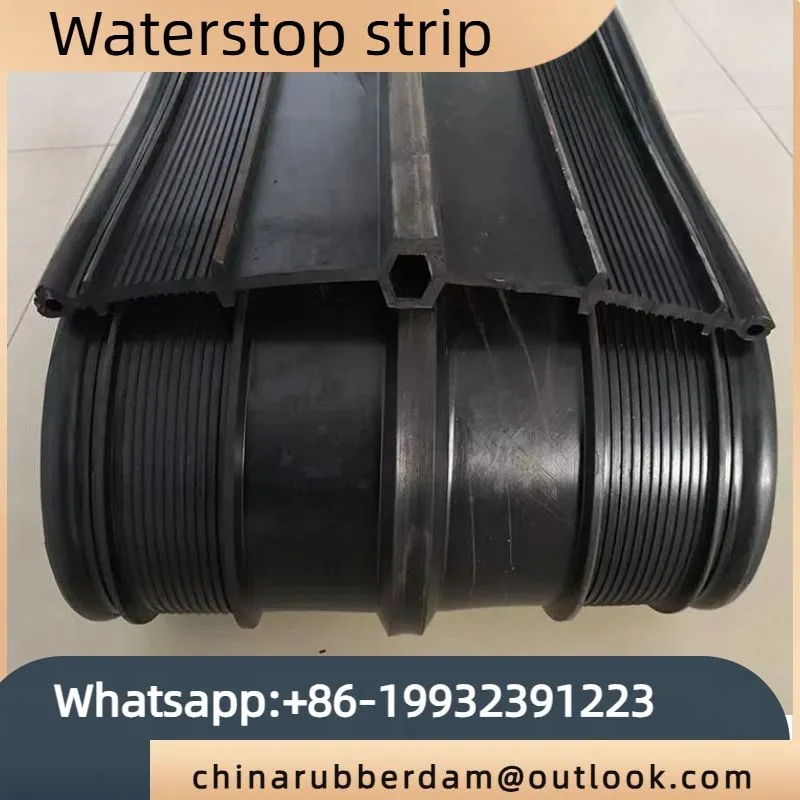
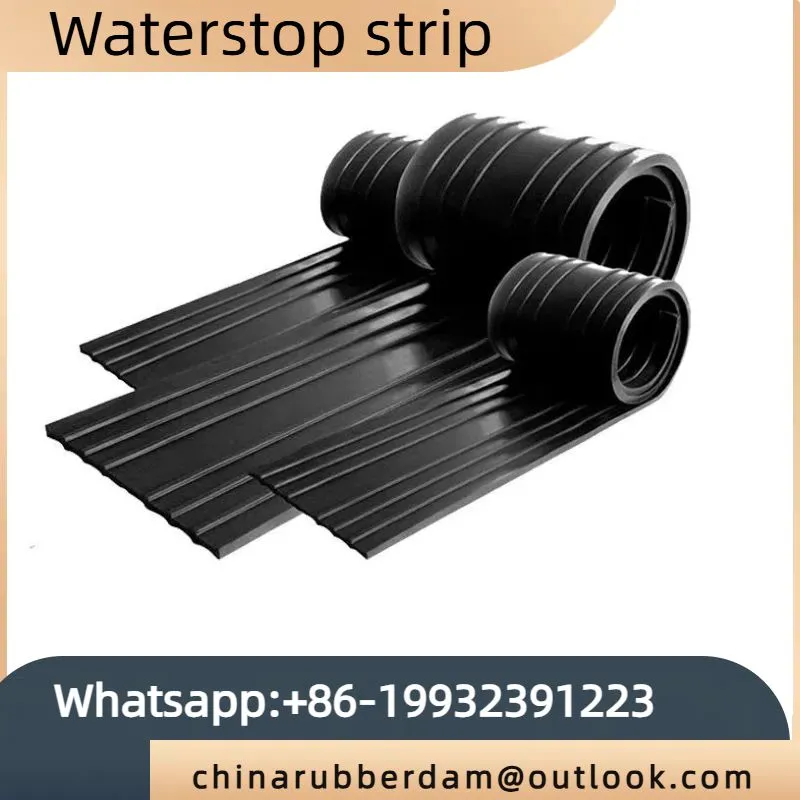
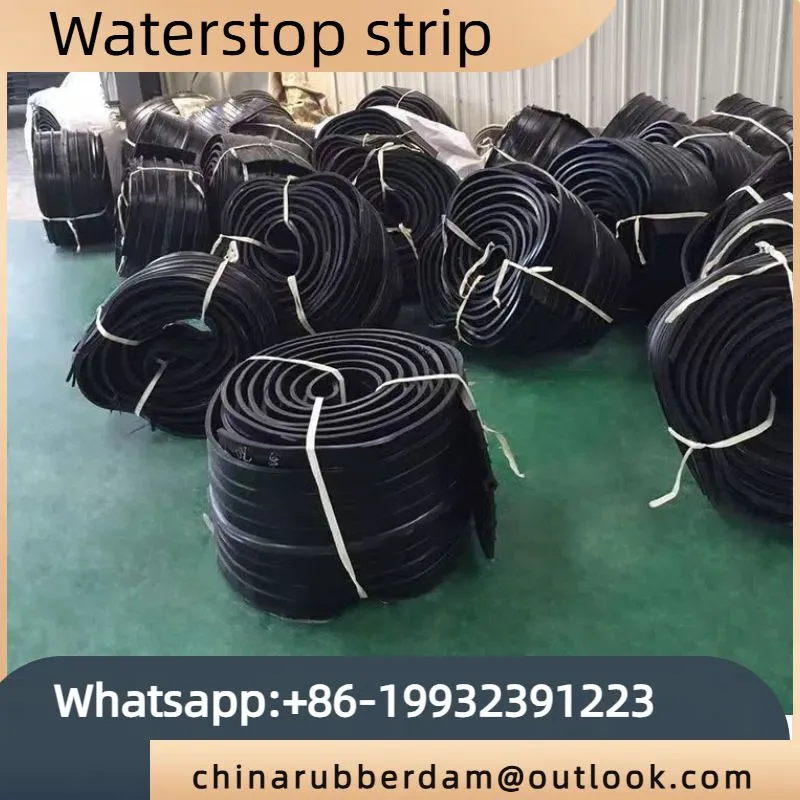
To ensure the waterproof effectiveness of rubber waterstop belts, proper installation techniques are
Mrs. Wendy
June 23, 2025
I. Pre-installation Preparations1. Material Inspection2. Substrate PreparationII. Installation Procedures for Embedded Waterstop Belts (e.g., CB-type)1. Positioning and Fixation2. Joint Connection Techniques3. Concrete Pouring CoordinationIII. Installation for Externally-mounted Waterstop Belts (e.g., EB-type)1. Adhesive Application2. Edge SealingIV. Special Scenario Treatments1. Corner Joints2. Pipe Penetration PointsV. Quality Control and Post-installation Checks1. Immediate Inspections2. Waterproof TestingVI. Key Installation Mistakes to Avoid
Share
Recently Posted
-
Water Stop Steel Plate: Material and Applications
June 26, 2025IntroductionWater stop steel plate, also known as steel water stop, steel water bar, or anti - seepage steel strip, is a crucial s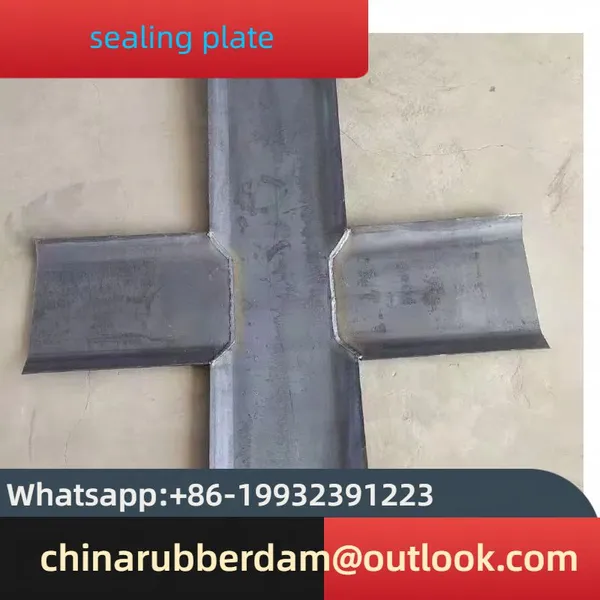 Read More
 -
Steel and Copper Plates Play Key Roles in Architectural Waterproofing
June 26, 2025In the realm of construction, ensuring effective waterproofing is of utmost importance. Steel and copper plates have emerged as cr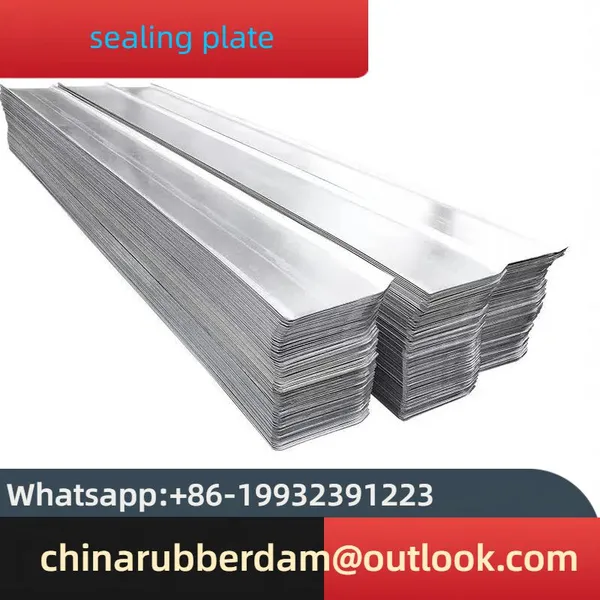 Read More
 -
Installation Steps and Precautions of Gabion Nets
June 26, 2025In recent infrastructure and environmental protection projects, gabion nets have emerged as a popular choice due to their durabili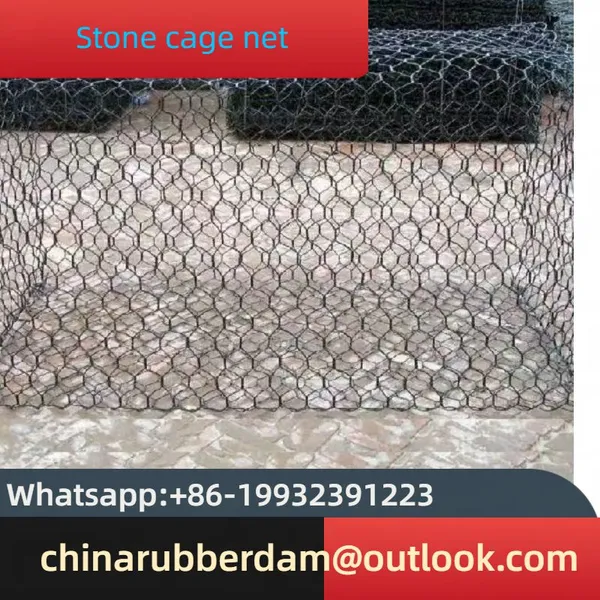 Read More
 -
Applications of Gabion Mesh: Protecting and Enhancing the Environment
June 26, 2025In recent years, gabion mesh has emerged as a versatile and effective solution for a wide range of applications, particularly in t Read More

Contact Us
Recommended Products
-
 River Water Storage Landscape Rubber Sluice Bag Rubber Dam Water Filling River Blocking Dam Embankment Inflatable DamUS$ 5200 - 6500MOQ: 1 Bag
 -
Small Rubber Dam Slope Inflatable Landscape Dam Can be CustomizedUS$ 5200 - 6500MOQ: 1 Bag
-
Whole Slope Landscape Ecological Rubber Dam Spot Circular Rubber DamUS$ 5200 - 6500MOQ: 1 Bag
-
Customized Production of Book Style Inflatable Flood Control Dam, Retaining Dam, Steel Wire Boneless Rubber DamUS$ 5201 - 6500MOQ: 1 Bag
-
Small Inflatable Rubber Dam Water Injection Rubber Dam Bag Dam Source ManufacturerUS$ 5201 - 6500MOQ: 1 Bag

-
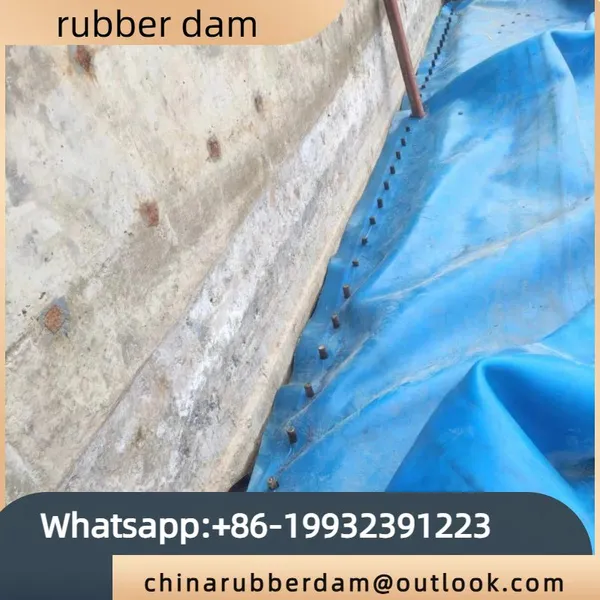
Supply Rubber Dam With Dam, Inflatable Dam for Sale in StockUS$ 5200 - 6500MOQ: 1 Bag
-
Large Scale Hydraulic Engineering Hydraulic Steel Dam Landscape Hydraulic Dam in Hebei, China, Replica Steel Gate Rubber Dam for Retaining DamUS$ 5200 - 6500MOQ: 1 Bag
-
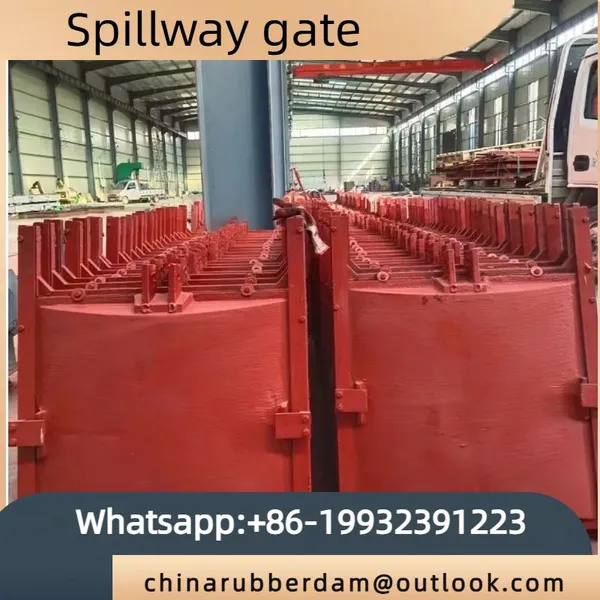
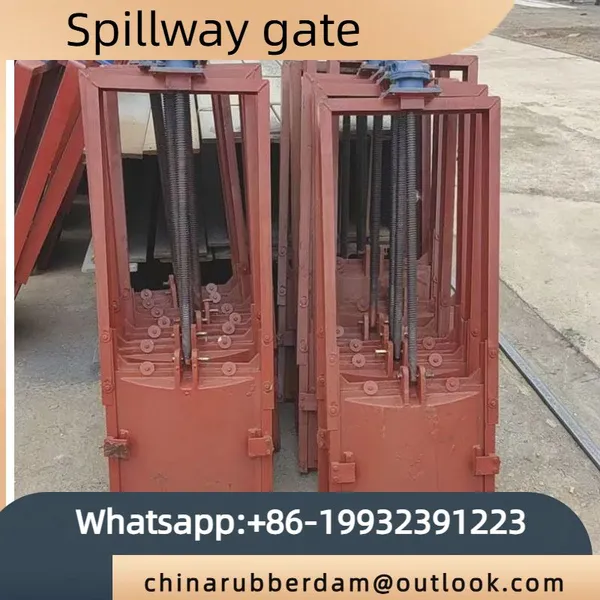
Cast Iron Square Gate/Source Manufacturer Cast Iron Gate SFZ-2000x2000 Matched With Electric Hoist Screw RodUS$ 999 - 1200MOQ: 10 Pairs
-
Steel Gate Source Manufacturer Supplies Stainless Steel Gate ZSZ-2400x2400 Water Stop GateUS$ 999 - 1200MOQ: 10 Pairs
-
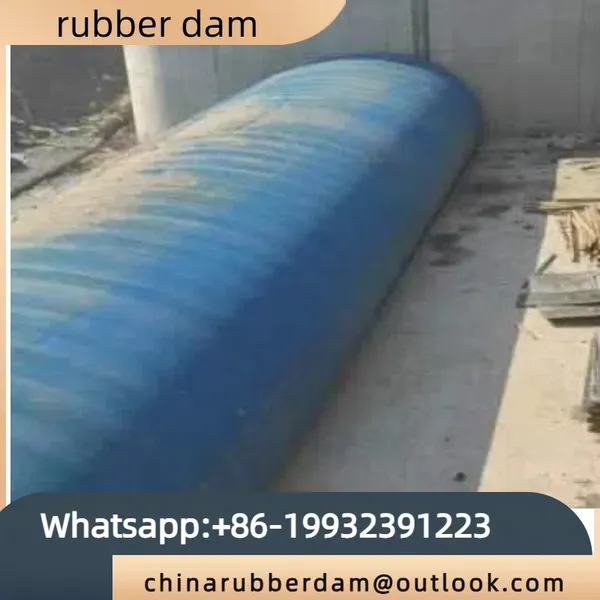
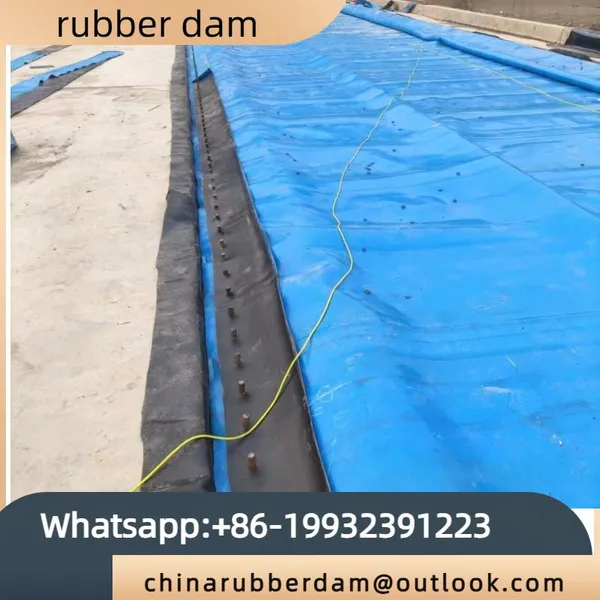
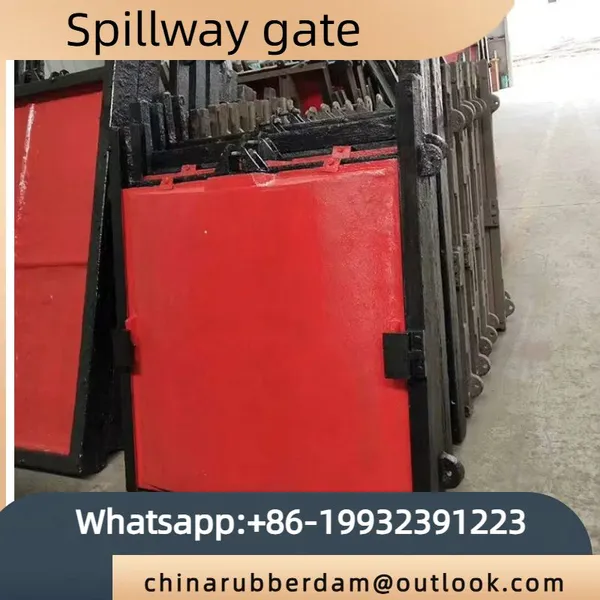
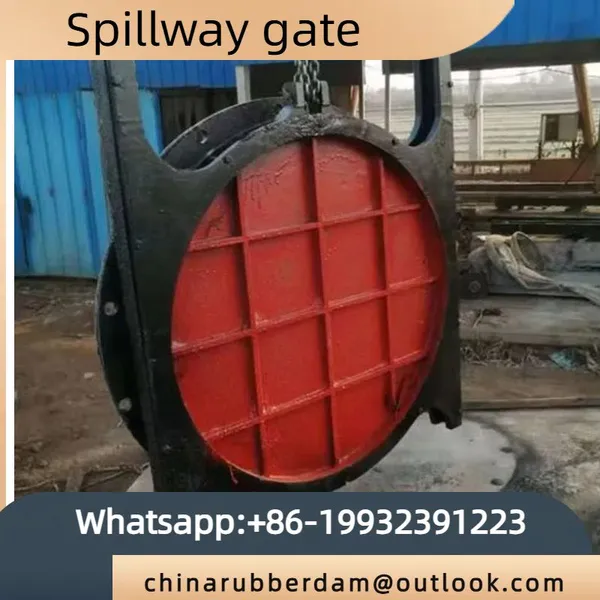
Round Copper Inlaid Cast Iron Gate/Manufacturer Produces Concealed Cast Iron Gate AYZ500 Hoist Cast Iron GateUS$ 999 - 1200MOQ: 10 Pairs
-
Stainless Steel Gate Manufacturer Produces ZSZ Type Water Stop Gate, Two-way Water Control Gate, Customized in Hebei, ChinaUS$ 999 - 1200MOQ: 10 Pairs
-
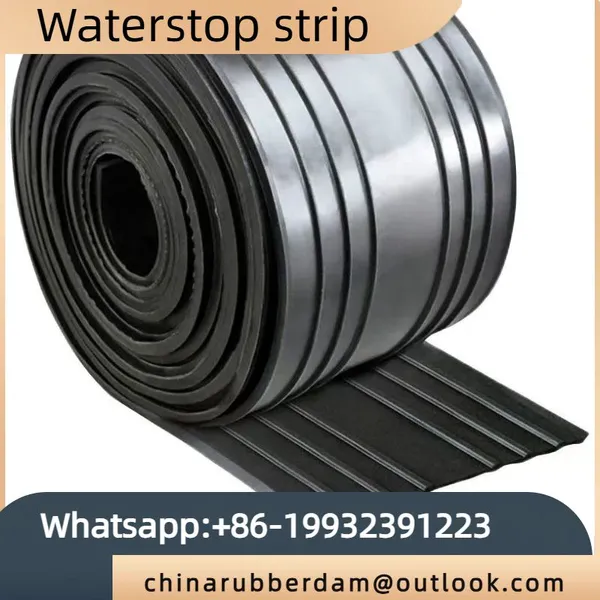
Steel Edge Rubber Waterstop Manufacturer in Stock, Wholesale in Large Quantities, With Good Sealing and Detachable Rubber WaterstopUS$ 50 - 79MOQ: 100 Meters
-
Construction of Water Injection Rubber Dam Factory, River Interception Dam, Gas Shield Dam Interception Dam ProjectUS$ 5200 - 6500MOQ: 1 Bag
-
Slope Pillow Type Water Filled Rubber Dam Construction Rubber Dam Solid FactoryUS$ 5199 - 6500MOQ: 1 Bag
-
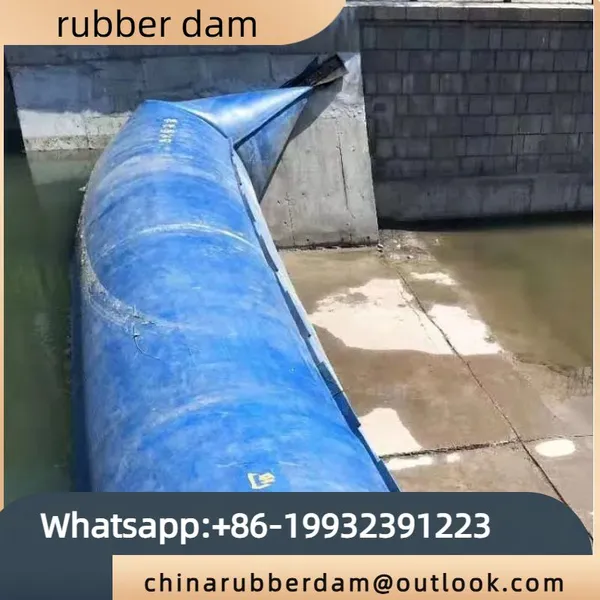
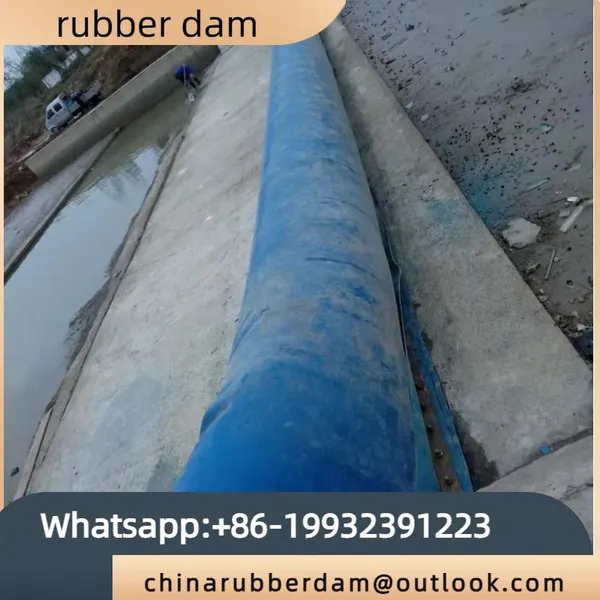
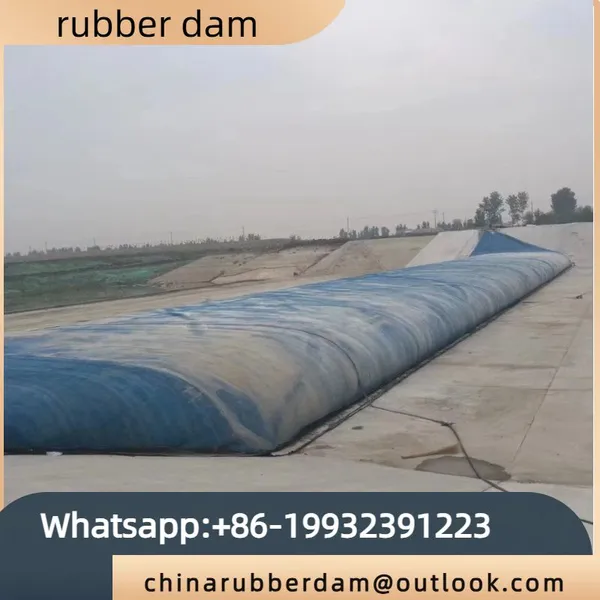
New Rubber Dam Garden Style Dam, Simple Dam, Automatic Lifting Rolling Dam, in StockUS$ 5200 - 6499MOQ: 1 Bag
-
Customized Automatic Lifting Dam for Horizontal Steel Dam Under Hydraulic Supply, River Interception, Water StorageUS$ 5200 - 6600MOQ: 1 Bag
-
Large Supply of Inflatable Rubber Dams for River and Water Interception Without Overlapping JointsUS$ 5200 - 6500MOQ: 1 Bag
-
Repair and Replace Small River Flood Prevention and Control Dams, Air Shield Dams, Seamless Overlapping Rubber DamsUS$ 5200 - 6500MOQ: 1 Bag
-
Factory Sales of Slope Type Water Filled Rubber Dam. Chinese Strong Merchants Can Customize According to Their PicturesUS$ 5200 - 6500MOQ: 1 Bag
-
The Manufacturer Supplies a Large Number of ZSZ Type Water Gates, Bi-directional Water Gates, Stainless Steel Gates, and Various Types of GatesUS$ 1000 - 1201MOQ: 10 Pairs